PrimeLMS Doc
Product LinkInstallation PlansSupport
  • Introduction
  • Changelogs
  • Getting Started
  • 🚀Admin Setup
    • 1. Flutter Installation
    • 2. Code Setup
    • 3. Firebase Setup
      • 3.1 Firestore Database Setup
      • 3.2 Database Security Rules
      • 3.3 Database Index Setup
      • 3.4 Push Notification Setup
      • 3.5 Firebase Storage Setup
    • 4. App Configs
    • 5. Upload to Firebase Hosting
    • 6. Admin Credentials Steup
    • 7. Conclusion
  • 📱App Setup
    • 1. Introduction
    • 2. Code Setup
    • 3. Firebase Setup for Android
      • 3.1 Android Package Name Setup on Firebase
      • 3.2 Change Package Name Android
      • 3.3 Generate Debug Certificate
      • 3.4 Generate Release Certificate
      • 3.5 Google Sign In Setup for Android
      • 3.6 Facebook Login Setup for Android
      • 3.7 Additional Firebase Setup for Android
    • 4. Firebase Setup for iOS
      • 4.1 iOS Package Name Setup on Firebase
      • 4.2 Change Package Name iOS
      • 4.3 Facebook Login Setup for iOS
      • 4.4 Apple Login Setup
      • 4.5 Additional Firebase Setup for iOS
    • 5. Push Notification Setup
      • 5.1 Android Notification Setup
      • 5.2 iOS Notification Setup
    • 6. Multi-Language Setup
    • 7. Ads Setup
      • 7.1 Admob Setup for Android
      • 7.2 Admob Setup for iOS
    • 8. App Information Setup
      • 8.1 Change App Name
      • 8.2 Change App Icons & Images
    • 14. Run The App
    • 15. Releasing the Android App
    • 16. Releasing the iOS App
  • ⚒️In-App Purchase Setup
    • 17. Subscriptions Setup
      • 17.1 Android Setup
      • 17.2 iOS Setup
      • 17.3 Code Setup for Subscriptions
  • ⚒️Customization
    • 18. Enable/Disable Specific Features
Powered by GitBook
On this page
  1. Admin Setup

6. Admin Credentials Steup

Admin Username & Password Setup

Previous5. Upload to Firebase HostingNext7. Conclusion

Last updated 1 year ago

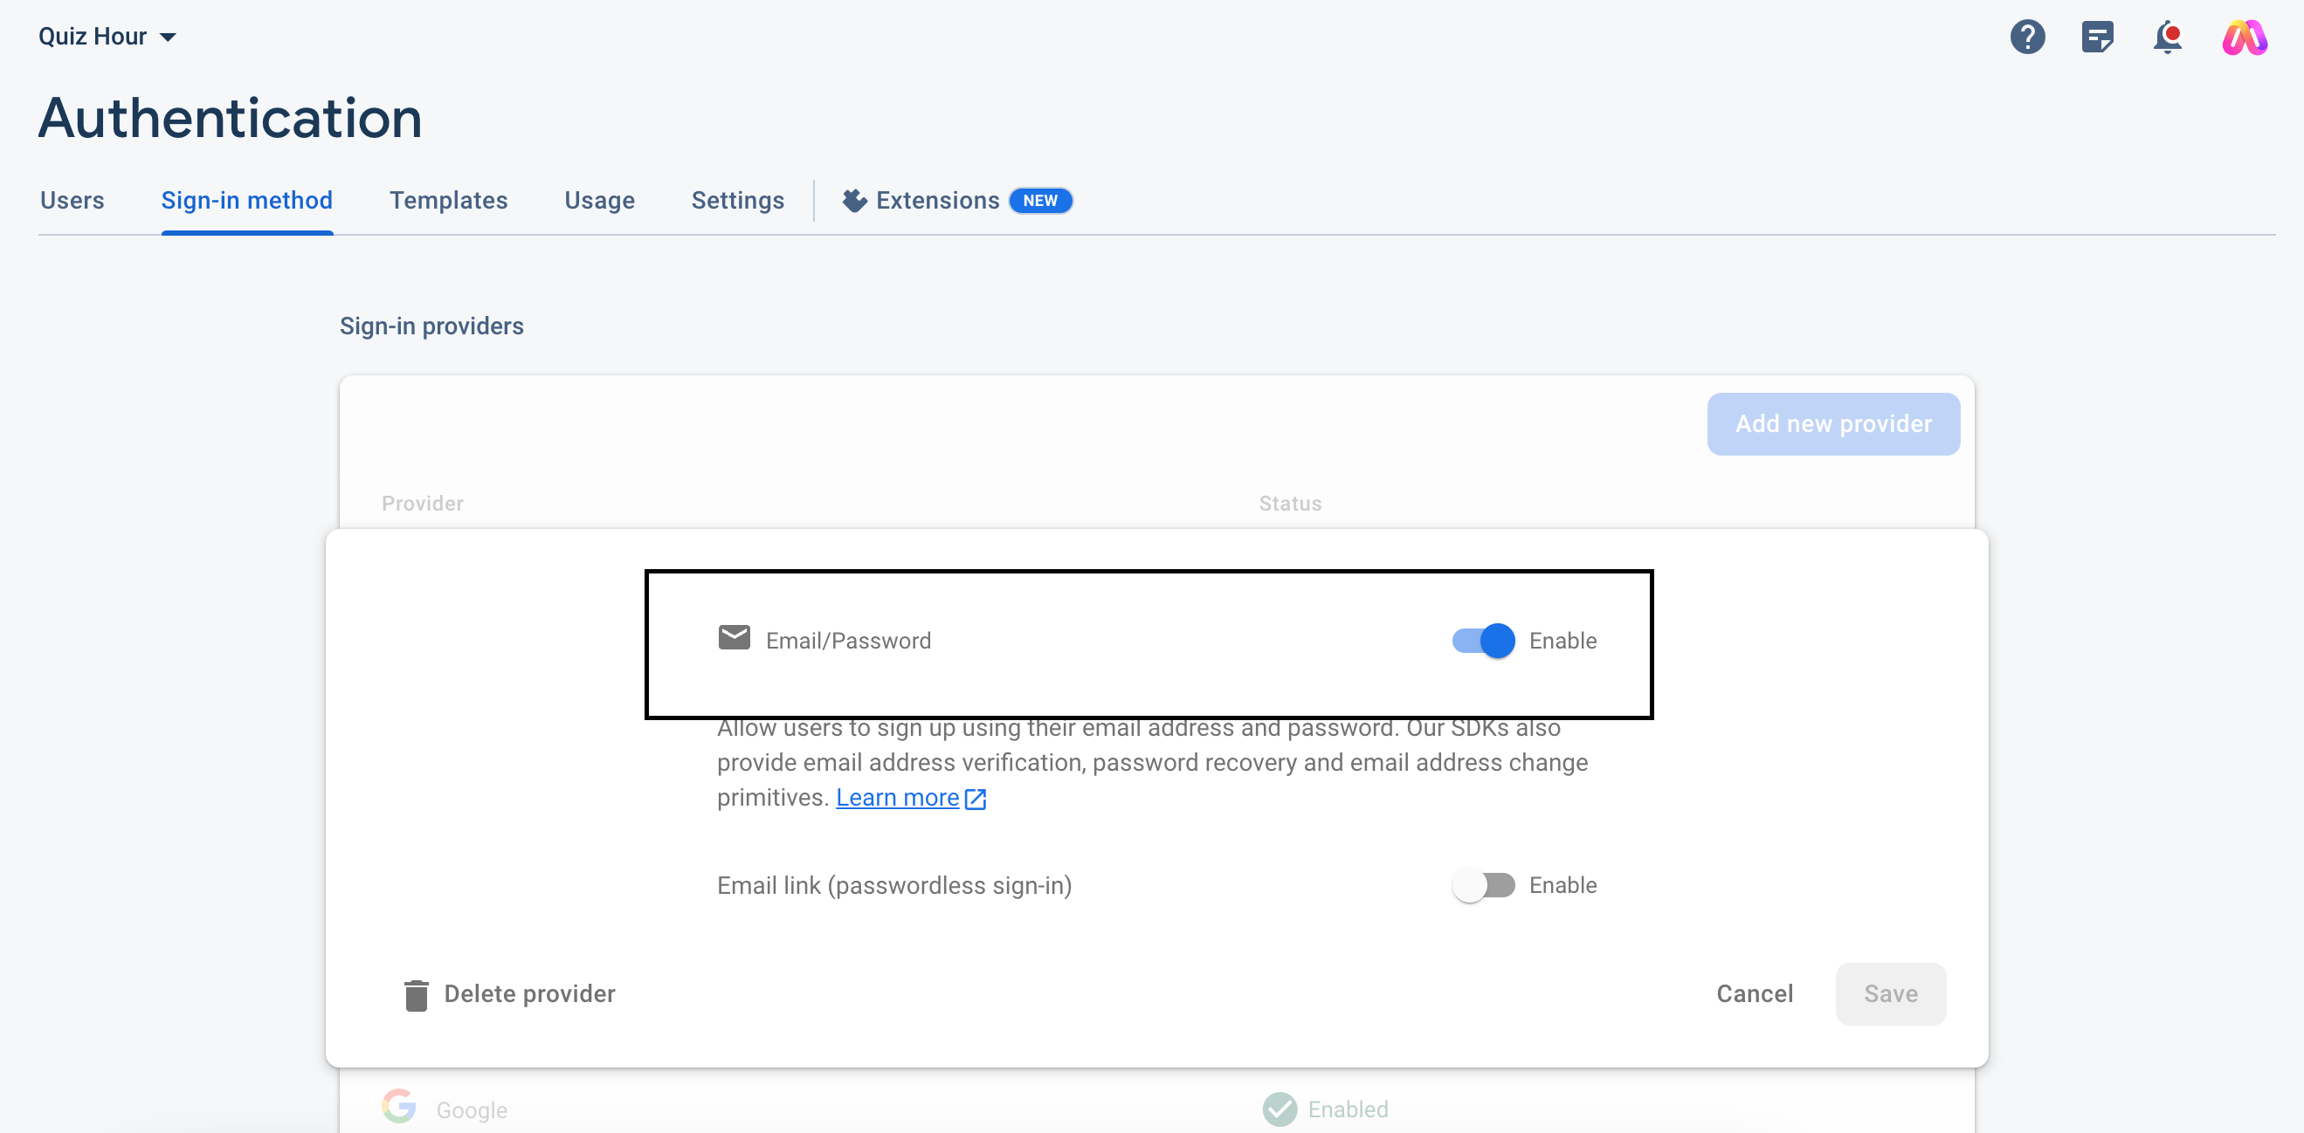
  1. From your Firebase Console > Your App, go to the Build > Authentication > Sign-in method tab and Enable Email/Password, and Save it.
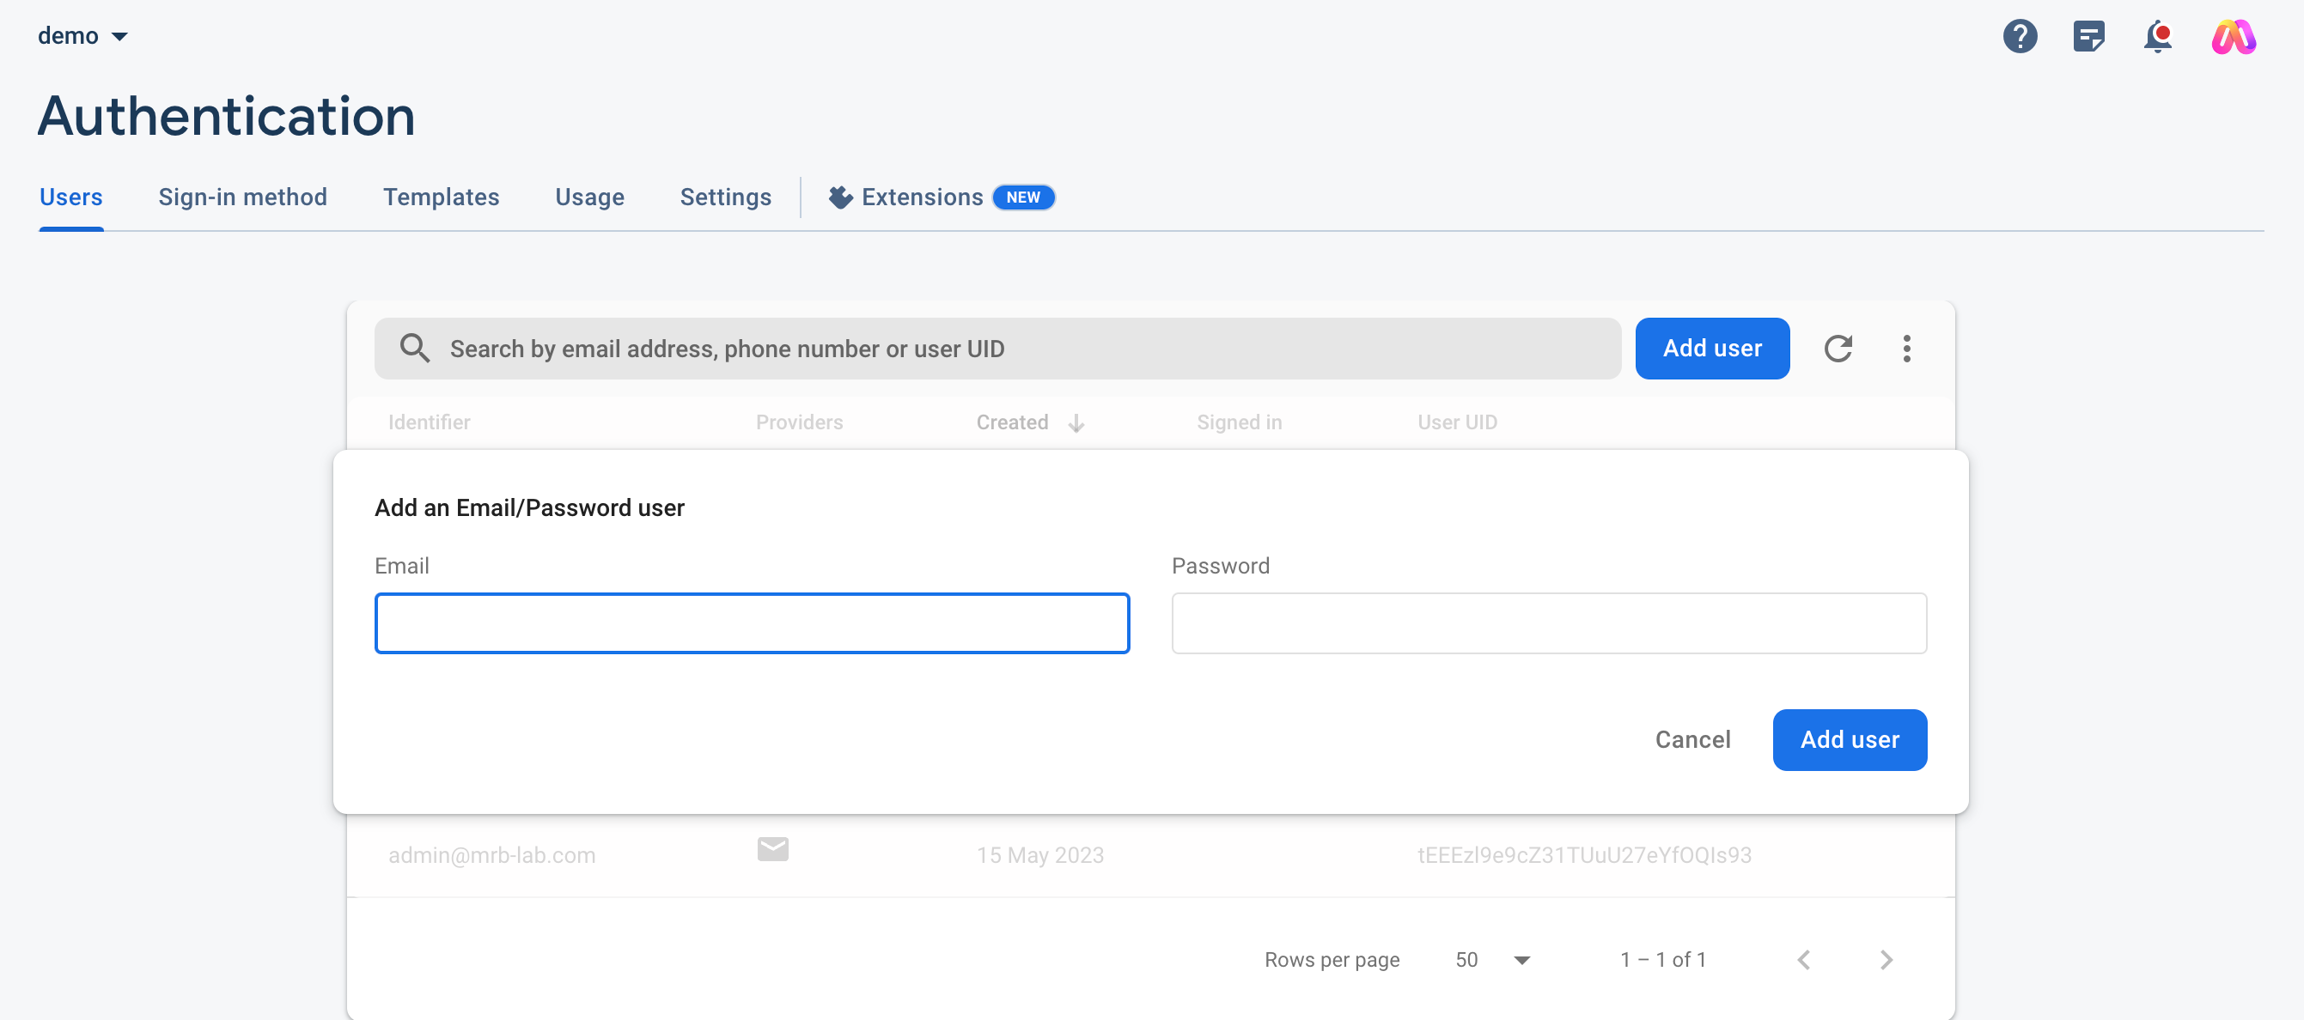
  1. Now go to the Users tab and click on the Add User button and create a new account by providing your email and password.

The username and password will be the admin email and password.
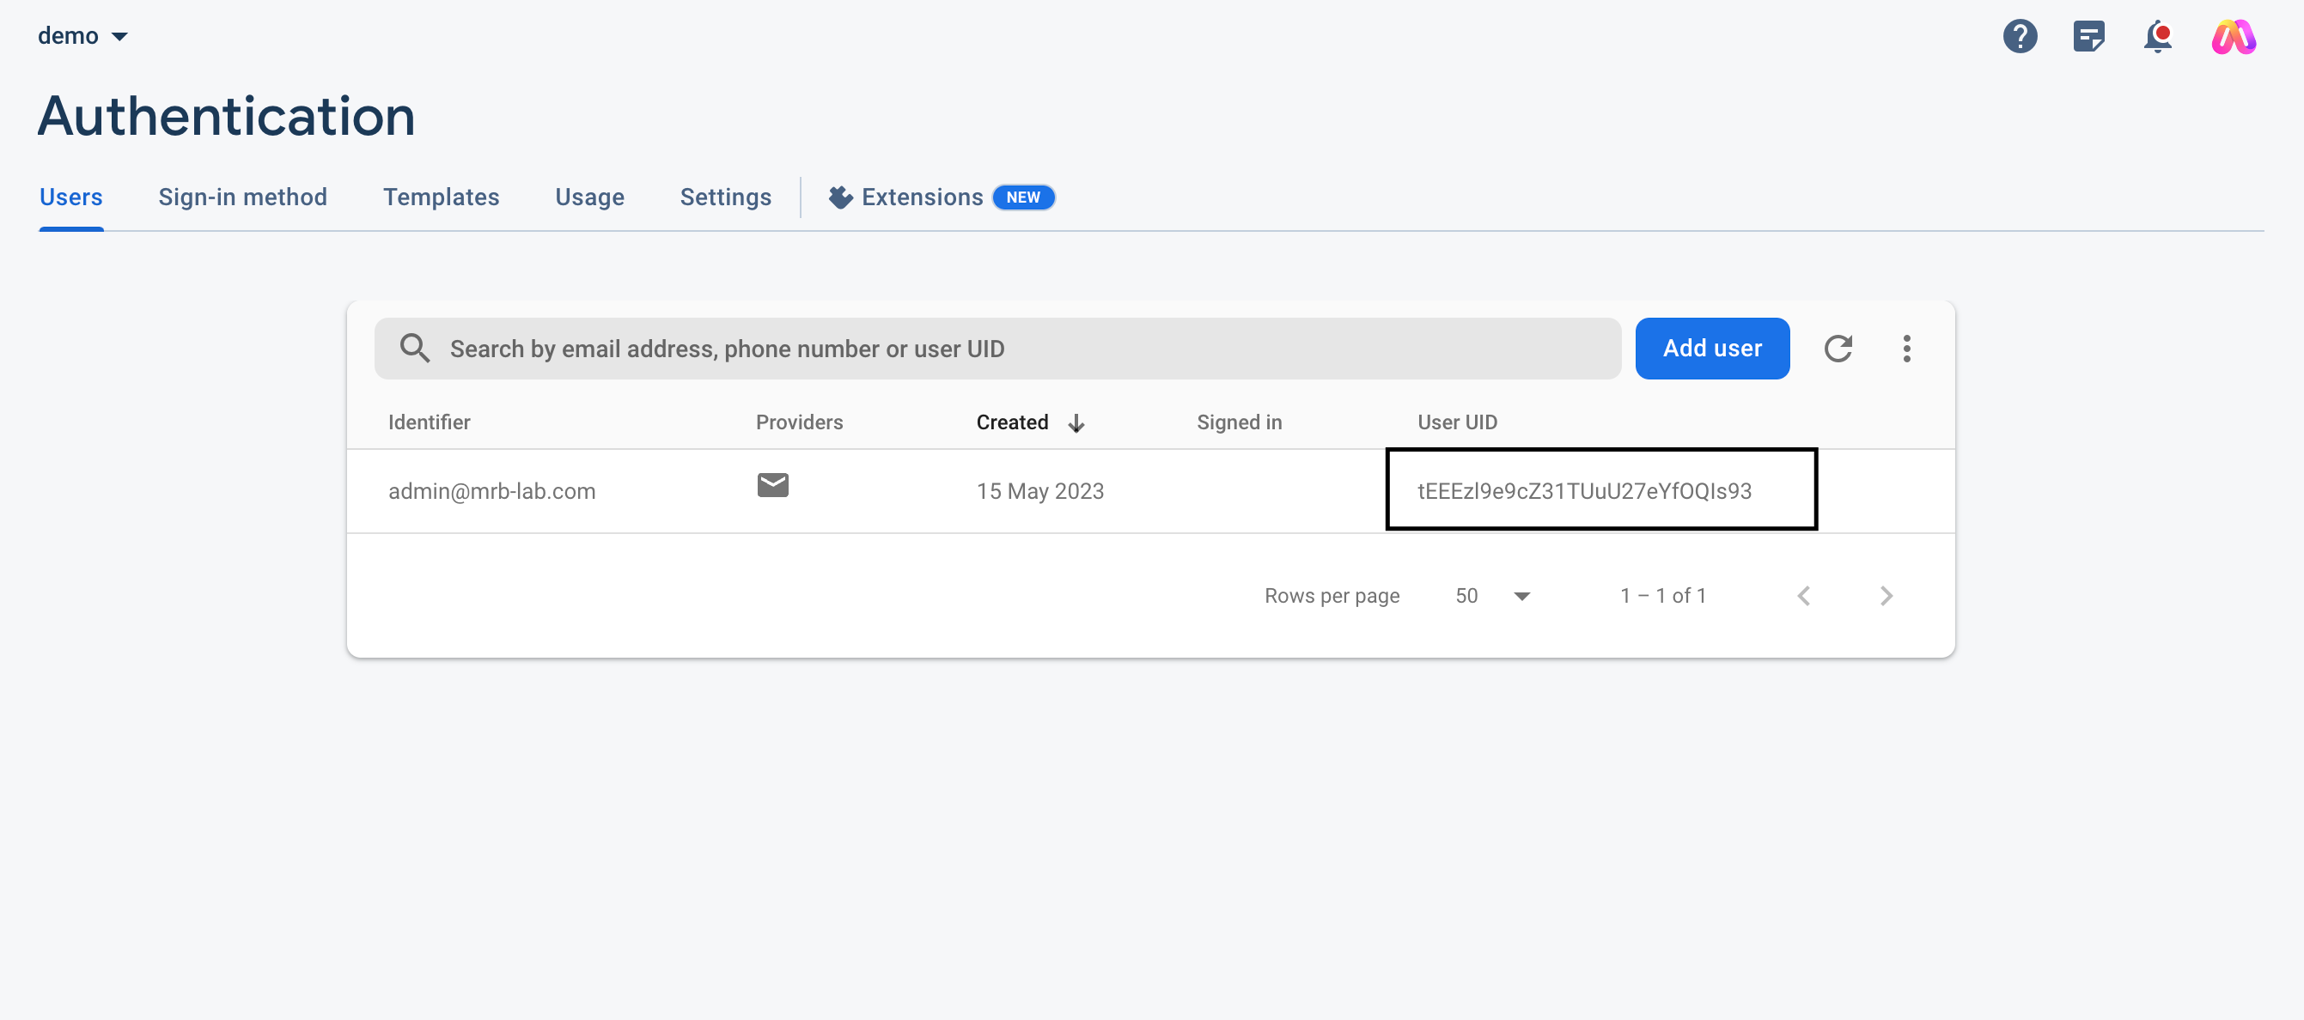
  1. Copy The User UID which is required for the next step. Now you have to create a record of the account you have created in the database.

  2. Go to the Build > Firestore Database and create a collection named users by clicking on the Start Collection button.
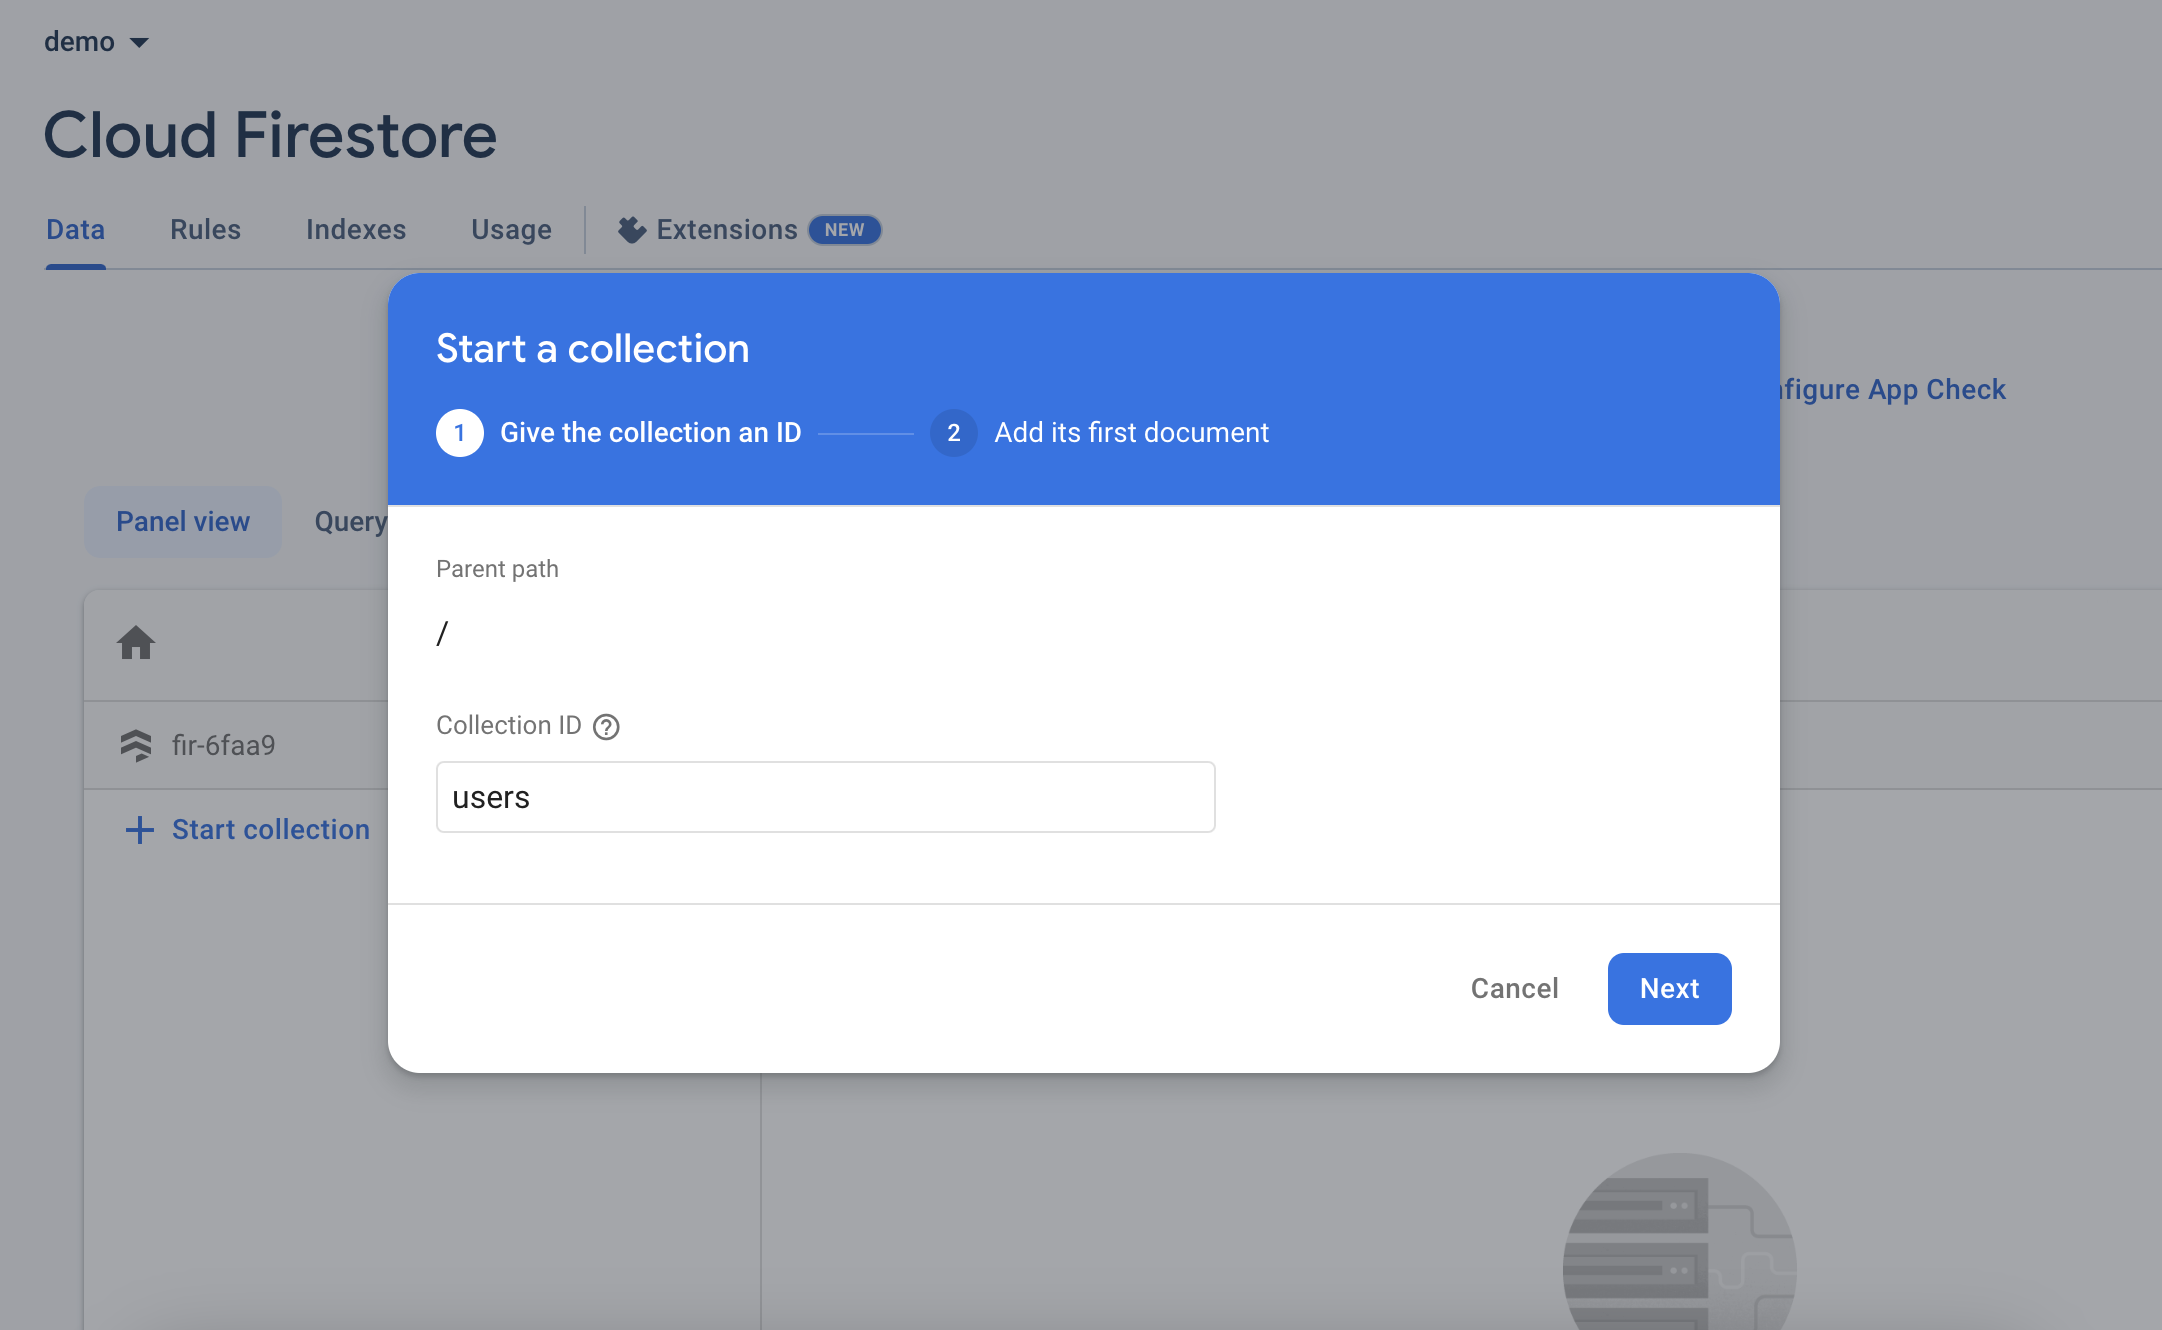
  1. After clicking Next, you will get a new document form.

  2. Use the user Id that you have copied as Document ID. Create a field named email and use your admin email as value. Create another field named name and enter your name as a value. Create another filed named role and the type must be an array and write admin as the first value of that array. Create another field named created_at and the type must be timestamp and select a date and time as values.

The fields and types should be the same as shown in the picture below.

  1. Save it and after creating the user collection and document, your document details will look like this:

That's it. Your admin account has been created. You can now log into your admin panel using the email and password you have created.

After, login into your admin account, if you see a validation form, just enter your purchase code and validate your account.

🚀
Where to get my purchase code?